


Downsampling in Photoshop
Step Five: Reduce the Size
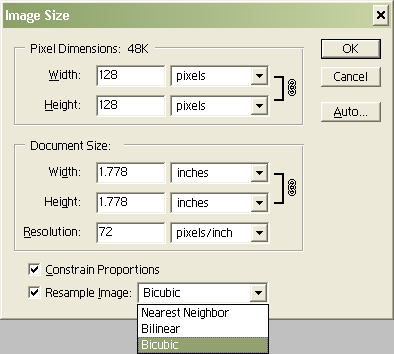
When possible, it's best to work at a higher resolution than the final graphic will have, then downsample. Remember to keep a copy of the higher res version, because you'll probably need it. In fact, it's wise to keep a copy of each step where a major change is performed, because you might decide tomorrow that you want to pick up from several steps back from the current version of the finished image and redo some steps, either to fix something you overlooked at first, or to make a different texture based on the same image (different hue, different density of an effect, or whatever).
If your program offers options for handling resampling, try them each until you have a feel for what they do. I almost always end up with bicubic, but occasionally, another method will help overcome the blurriness inherent in reducing resolution.
Another thing you can do about blurriness is gently sharpen the image after downsampling. In Photoshop, I like to use the Unsharp Mask filter, set for between 1 and 2 pixels, at around 10-20% strength. Be very conservative with sharpening. You can easily hurt more than you help with it.


